How to Paint Kitchen Cabinets for a Lasting Finish
A cabinet repaint can change the entire feel of a kitchen without the cost and disruption of replacement. But learning how to paint kitchen cabinets is less about picking a trendy color and more about preparation. Cabinets live with fingerprints, cooking grease, steam, slammed doors, and daily cleaning. A finish that looks great on day one can peel or chip quickly when the surface work is rushed.
For homeowners, landlords, and property managers in Central Florida, the right process matters even more. Heat and humidity can slow drying, affect adhesion, and make it tempting to use the kitchen before the paint has fully cured. With careful planning, quality materials, and patience between coats, painted cabinets can deliver a clean, polished upgrade that holds up to real life.
Decide Whether Your Cabinets Are Good Painting Candidates
Most solid-wood, wood veneer, medium-density fiberboard, and laminate cabinets can be painted successfully. The condition of the cabinet matters more than its age. Doors should open and close properly, frames should be structurally sound, and surfaces should not have widespread water damage, swelling, or peeling veneer.
Painting is a smart value-focused option when the cabinet layout works, storage is adequate, and the boxes are in good shape. It is less effective when lower cabinets have severe water damage around the sink, doors are warped, or hinges and drawer slides are failing. Those issues should be repaired before painting, or addressed as part of a larger kitchen improvement plan.
Take a close look at the existing finish, especially near the stove, sink, and handles. Grease buildup, worn clear coats, and small chips are normal and repairable. Soft wood, delaminating surfaces, or persistent moisture problems are not paint problems – they are repair problems first.
How to Paint Kitchen Cabinets Step by Step
The best cabinet paint jobs follow a simple sequence: inspect the surfaces, prepare them thoroughly, then apply each product under the right conditions. Skipping any part of that sequence is where most do-it-yourself projects lose durability.
Remove doors, drawers, and hardware
Label every cabinet door, drawer, hinge, and hardware set before removing anything. A small piece of painter’s tape marked with a number can save a great deal of time during reinstallation. Place screws and hinges in labeled bags so hardware from one cabinet does not get mixed with another.
Removing doors and drawer fronts allows you to paint edges evenly and prevents paint from building up around hinges. It also gives you room to work carefully on the cabinet boxes without trying to paint around handles and pulls.
Clean away grease and residue
Kitchen cabinets need more than a quick wipe with a damp rag. Use a degreasing cleaner suited for painted surfaces, then wipe again with clean water if the product instructions call for rinsing. Pay extra attention to cabinet doors near the range, as well as the areas around pulls where hand oils collect.
Let every surface dry completely. Paint does not bond well to hidden grease, cleaner residue, or moisture. This single step often determines whether a new finish lasts for years or begins peeling around high-touch areas.
Repair dents, chips, and worn edges
Fill small dents, nail holes, and chips with a quality wood filler or repair compound appropriate for the cabinet material. Once it dries, sand the repair flush with the surrounding surface. If a cabinet door has loose joints or a damaged hinge area, repair it before paint goes on.
Do not overlook caulk lines where cabinet panels meet walls or trim. A neat, paintable caulk joint can make the finished kitchen look more complete. Avoid caulking moving door panels or areas that need to remain flexible.
Sand for adhesion, not perfection
The goal of sanding is to dull the existing finish and create a surface the primer can grip. Use fine to medium-fine sandpaper, commonly around 120 to 180 grit for the initial scuff sanding. You do not need to sand every cabinet down to bare wood unless the existing finish is failing badly.
After sanding, vacuum the dust thoroughly and wipe surfaces with a tack cloth or a clean, lint-free cloth. Dust left in corners and door profiles can create a rough finish that becomes more noticeable once paint dries.
Prime based on the cabinet material
Primer is not optional for most cabinet projects. It helps block stains, improves paint adhesion, and creates a consistent base for the final color. Use a high-adhesion bonding primer for glossy laminate or previously coated cabinets. Use a stain-blocking primer for bare wood, knotty wood, or cabinets that may bleed tannins through lighter paint colors.
Apply a thin, even coat and let it dry according to the label. If the surface feels rough after priming, lightly sand it with fine sandpaper, remove the dust, and continue. This small sanding step is one reason professionally finished cabinets feel smooth rather than gritty.
Choose paint made for cabinets
Wall paint is not designed for the repeated cleaning and impact that cabinets receive. Select a durable cabinet, trim, or enamel paint with a washable finish. Satin and semi-gloss are popular choices because they reflect light, clean easily, and offer a practical balance between shine and hiding minor imperfections.
A flatter sheen can look sophisticated, but it may show scuffs more readily in a busy kitchen. High gloss is durable and easy to wipe, yet it highlights every dent, brush mark, and uneven surface. The best choice depends on the cabinet condition, available light, and how heavily the kitchen is used.
Apply thin, controlled coats
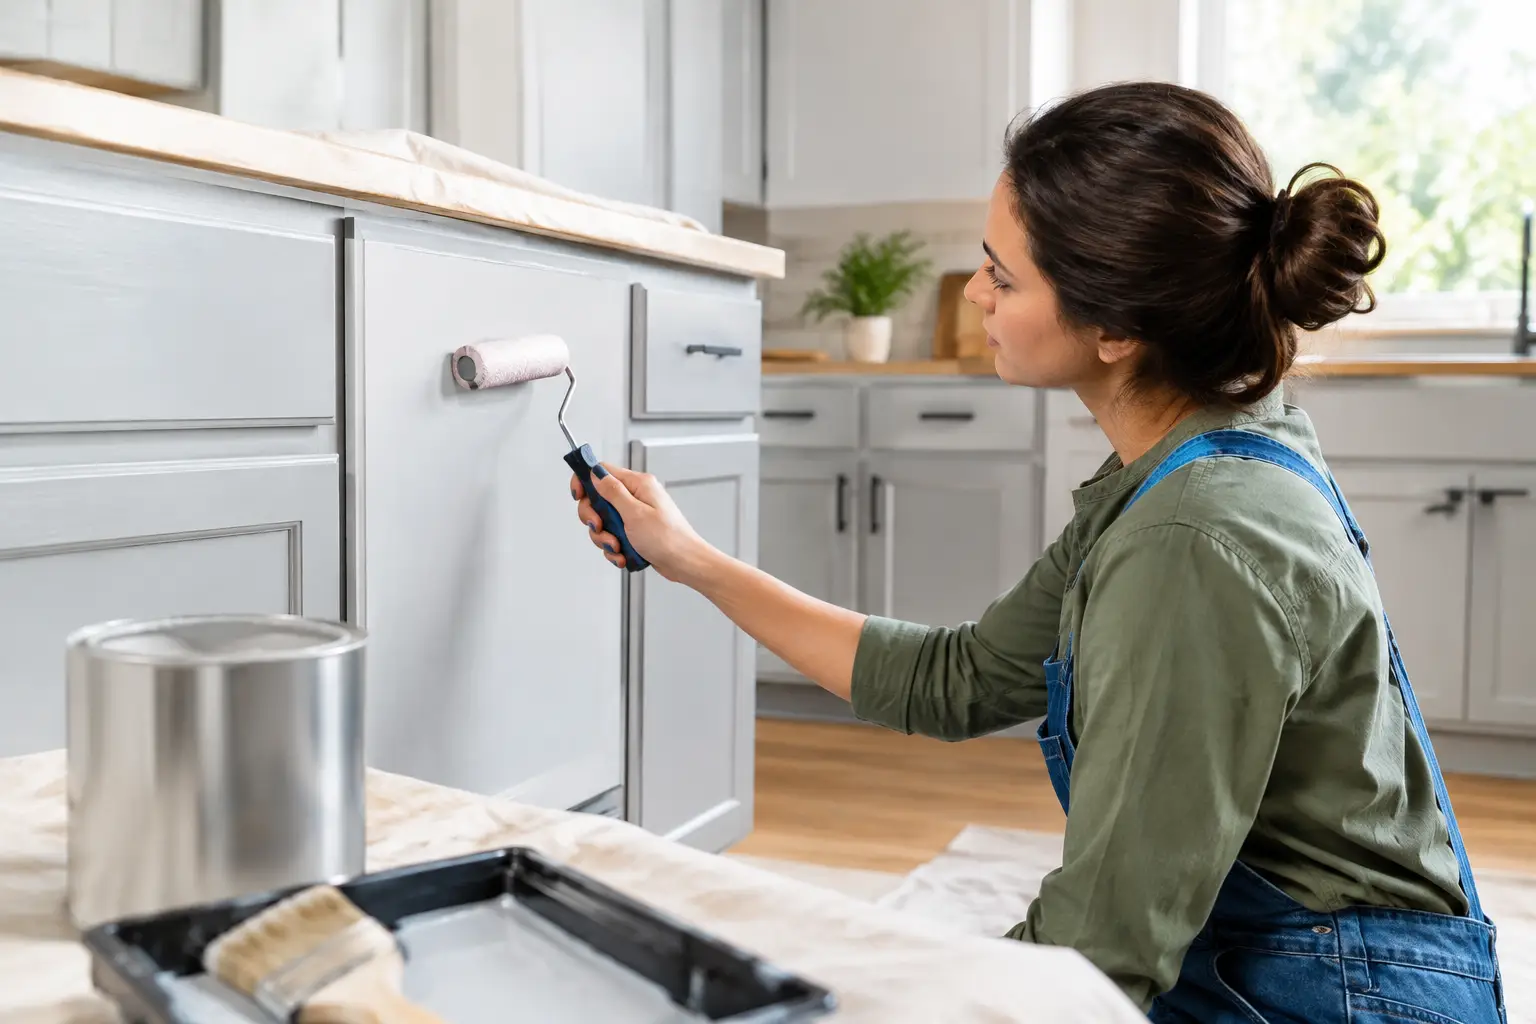
Use a quality angled brush for detailed edges and recessed profiles, then use a small foam or microfiber roller on broad, flat areas. Work in thin coats rather than trying to achieve full coverage in one pass. Heavy paint can sag on door edges, settle into corners, and take longer to cure.
Most cabinets need two finish coats after primer. Allow the full recommended drying time between coats, and lightly sand only when needed to remove dust nibs or small imperfections. Keep the work area clean, well ventilated, and protected from strong drafts that can blow debris onto wet paint.
Drying Is Not the Same as Curing
A cabinet can feel dry within hours and still be vulnerable to dents, sticking doors, and scratches. Paint curing is the longer process of reaching its intended hardness. Depending on the product, temperature, and humidity, that may take several days or even a few weeks.
In Davenport’s humid conditions, give cabinet doors extra time before reinstalling them and avoid stacking painted drawer fronts face to face. Once the kitchen is put back together, use gentle cleaning methods and avoid harsh scrubbing during the cure period. Do not hang damp dish towels over newly painted doors or let cabinet edges repeatedly rub together.
This patience protects the work you just completed. A premature return to normal use is one of the most common reasons an otherwise good cabinet repaint develops marks around doors, drawers, and handles.
Common Mistakes That Shorten Cabinet Paint Life
The most expensive mistake is painting over grease or slick surfaces without cleaning and sanding. The paint may appear fine at first, then lift when a door is wiped down a few weeks later. Using the wrong primer creates similar problems, especially on laminate or glossy factory finishes.
Another frequent issue is reinstalling hardware too soon. Tightening hinges, closing doors, and pulling drawers against soft paint can leave permanent impressions. Rushing also shows up as drips, brush marks, missed edges, and paint buildup around corners.
Color selection deserves practical thought, too. Bright white cabinets can make a smaller kitchen feel open, but they reveal cooking splatter and handprints more quickly. Dark colors can create a striking look, although they may make a low-light kitchen feel smaller. Warm whites, soft grays, muted greens, and natural blue tones often offer a flexible middle ground, especially for rental properties and broad resale appeal.
When Professional Cabinet Painting Makes Sense
Painting kitchen cabinets is manageable for a patient homeowner with the right workspace and time. It becomes more challenging when there are extensive repairs, detailed door profiles, large cabinet runs, water damage, or a tight turnaround between tenants. Spraying can produce a very smooth finish, but it requires careful masking, ventilation, equipment knowledge, and control of overspray.
A professional can evaluate the cabinet material, identify hidden damage, recommend appropriate primers and finishes, and keep the work organized from inspection through final installation. Davenport Handyman Services can also coordinate related improvements, such as drywall repair, lighting updates, flooring work, or wall painting, so the refreshed kitchen feels complete rather than partially updated.
A carefully painted cabinet is not just a new color on an old door. It is a practical upgrade built on clean surfaces, thoughtful repairs, premium materials, and enough time for the finish to become durable. Give the preparation the attention it deserves, and your kitchen can look refreshed long after the paint dries.