Emergency Water Leak Repair Steps That Limit Damage
A leaking supply line under a sink can soak a cabinet in minutes. A burst pipe behind a wall can damage flooring, drywall, insulation, and nearby electrical components before the source is even visible. When you need emergency water leak repair, the first goal is not a perfect repair. It is stopping the water, protecting people and property, and getting the right help on site quickly.
For homeowners, landlords, and property managers in Davenport, Florida, a fast and organized response can make the difference between a manageable plumbing repair and a costly restoration project. Central Florida humidity can also speed up mold concerns when wet materials are left untreated, so time matters.
First, Decide Whether the Leak Is an Emergency
Not every drip requires an after-hours call, but every active leak deserves attention. A faucet that drips into a sink may be inconvenient and wasteful, yet it can often wait for a scheduled repair. Water coming through a ceiling, pooling near an appliance, spraying from a pipe, or flowing from a toilet supply line is a different situation.
Treat the problem as urgent when water is spreading beyond its fixture, the flow cannot be contained with a bucket or towel, or the leak is near outlets, breaker panels, appliances, or exposed wiring. A leak from an upstairs bathroom also requires quick action because water can travel through framing and emerge far from the original source.
For rental and commercial properties, quick reporting is just as important as quick repair. Tenants should know where to report leaks, while managers should document the time, location, visible damage, and steps taken to reduce the flow. That information helps a repair professional arrive prepared and helps protect the property record.
Emergency Water Leak Repair: Stop the Flow Safely
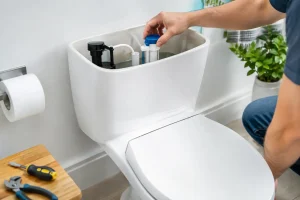
Before moving furniture or trying to locate the exact break, shut off the closest water supply if you can do so safely. Most sinks and toilets have small shutoff valves on the supply lines beneath or behind the fixture. Turn the valve clockwise until it stops. If the leak is limited to that fixture, this may keep water available in the rest of the building.
If you cannot identify the source, the valve is damaged, or water continues to flow, turn off the main water supply. In many homes, the main shutoff is located near the water meter, in a utility area, garage, exterior wall, or mechanical closet. Property owners should locate and test this valve before an emergency occurs, not while water is reaching the floor.
Do not touch electrical switches, outlets, cords, or appliances if water is nearby. If it is safe to access the electrical panel without stepping in water, shut off power to the affected area. When there is any doubt, stay clear of the area and contact a qualified professional. Water and electricity are not a do-it-yourself combination.
Relieve Pressure and Contain What You Can
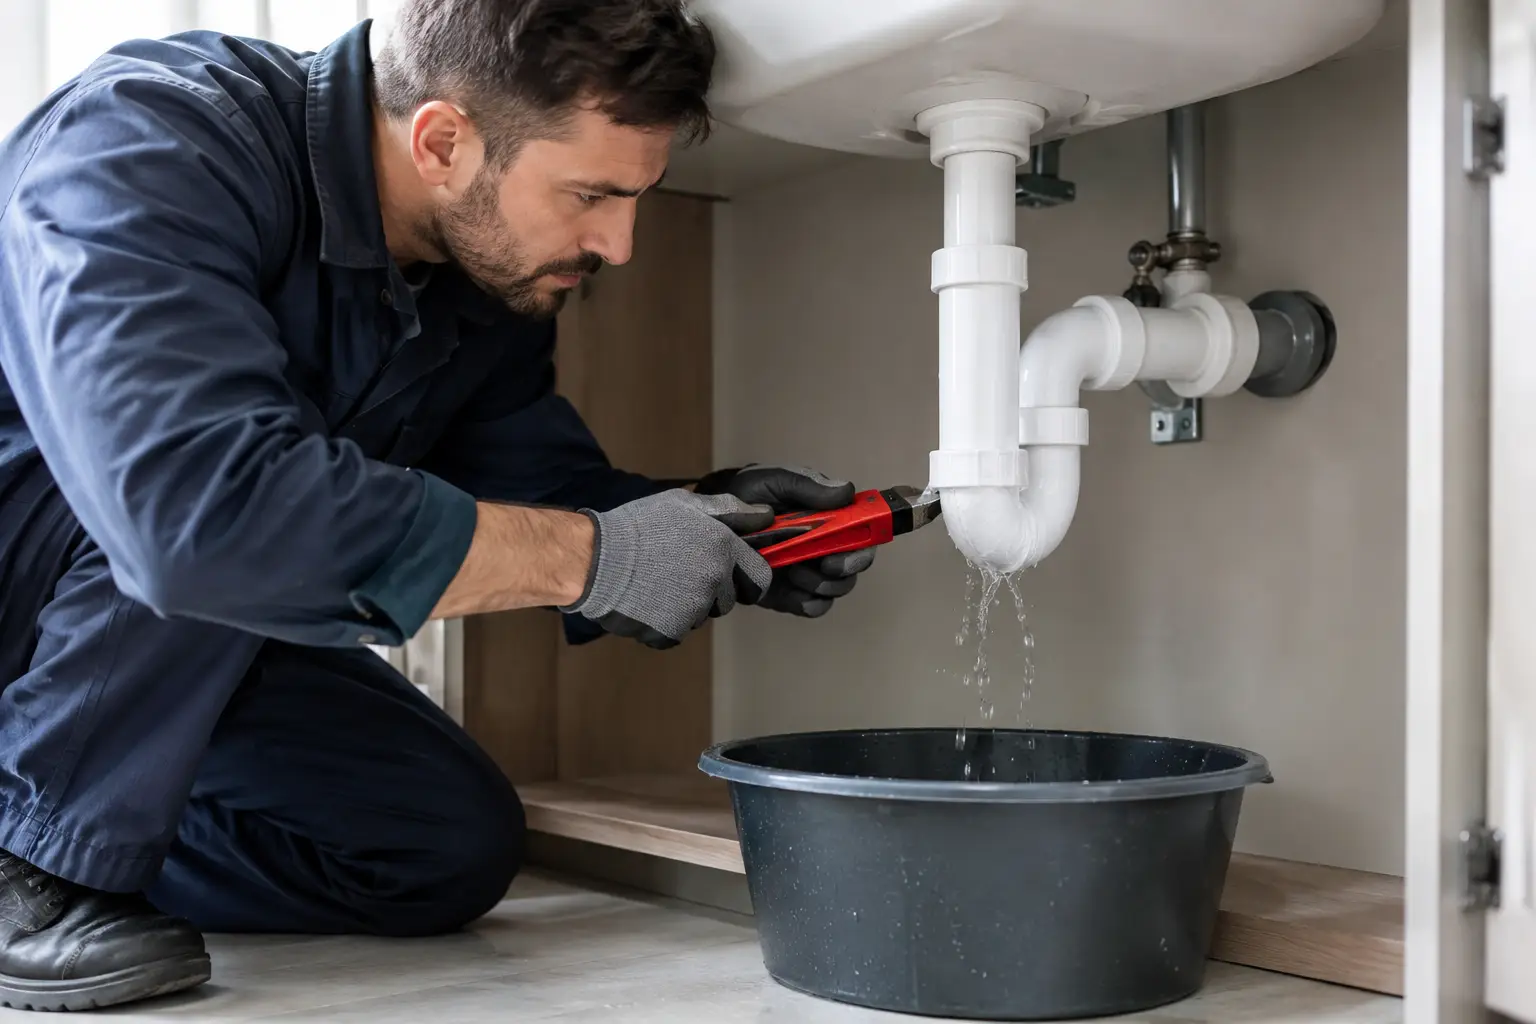
After shutting off the water, open a cold-water faucet at the lowest accessible point in the home. This can help drain residual water and relieve pressure in the lines. Then place containers beneath the leak, use towels to direct water away from walls and cabinets, and remove rugs, boxes, and furniture from the wet area.
If water is coming through a ceiling, do not stand directly beneath a sagging section of drywall. The ceiling may hold a surprising amount of water and can collapse. Move people and valuables out of the area, protect the floor if possible, and wait for a professional assessment. Puncturing a water-filled ceiling without knowing what is above it can create a larger mess or introduce electrical risk.
Avoid Repairs That Create Bigger Problems
A temporary patch can be useful only after the water is off and the area is safe. For example, a small pinhole in an accessible pipe may be temporarily wrapped while waiting for service. But tape, sealant, and improvised clamps are not dependable repairs for pressurized plumbing. They can fail when water pressure returns, often at the worst possible time.
Be especially cautious with older pipes, corroded fittings, and supply lines that show rust, swelling, or cracking. Tightening a fitting may stop a minor connection leak, but overtightening can crack a valve or strip threads. If a flexible hose is damaged, replacement is usually safer than attempting to patch it.
It also depends on what is leaking. A drainpipe leak may only release water while a sink, shower, or washing machine is running. A supply-line leak can remain under pressure at all times. Water from a clean supply line is generally less hazardous than water from a toilet, drain, or sewage backup, but any standing water can damage building materials if it is not removed promptly.
Protect the Property After the Water Is Off
Stopping the leak is only the first half of the job. Moisture can remain under flooring, inside cabinets, behind baseboards, and within wall cavities long after the visible puddle is gone. Dry the surface with towels or a wet vacuum if it is safe, then increase airflow with fans. Air conditioning can help reduce indoor humidity, but it cannot always dry concealed materials fast enough on its own.
Take clear photos before removing damaged materials or making major changes. Photograph the source of the leak, standing water, affected finishes, and any belongings that were damaged. This documentation can be useful for maintenance records, tenant communication, or insurance discussions.
Watch for signs that water traveled farther than expected: soft drywall, bubbling paint, warped laminate, musty odors, stained ceilings, loose baseboards, or flooring that begins to lift. A small leak under a kitchen sink may only require a plumbing repair and cabinet drying. A leak that reaches flooring or walls may require a broader inspection and moisture-management plan.
What a Professional Leak Repair Should Include
Quality emergency service is more than replacing a broken line and leaving. The right repair begins with identifying the true source of the water. Moisture can travel along pipes, studs, and flooring, which means the spot where water appears is not always where the failure began.
A professional should inspect the affected fixture, nearby connections, shutoff valves, supply lines, drains, and visible surrounding materials. From there, the repair approach may include replacing a failed valve, installing a new supply line, repairing a pipe section, resealing a fixture connection, or correcting an appliance hookup.
The best solution also considers why the failure occurred. A single worn washer is different from repeated pipe corrosion or high water pressure. If one aging supply hose has failed, it may be wise to inspect similar hoses throughout the property. This is a practical trade-off: replacing one part costs less today, while preventive updates may reduce the chance of another after-hours emergency later.
A Clear Response Process Helps Reduce Stress
When a leak interrupts your day or night, you should not have to coordinate several providers just to get answers. Davenport Handyman Services can assess the immediate issue, help limit further damage, and provide clear recommendations for the repair and any related home-maintenance needs.
A dependable process starts with a smart inspection of the source and affected area. Next comes meticulous planning, including the materials, scope, and priorities needed to restore the space safely. Then the repair is completed with careful workmanship, because a quick fix should still be built to last.
For landlords and property managers, this approach also creates consistency across properties. Prompt repairs protect tenant comfort, reduce the risk of larger damage claims, and help preserve the condition of cabinets, flooring, walls, and other finished surfaces.
Prepare Before the Next Leak Happens
The easiest emergency to manage is one you have prepared for. Make sure everyone responsible for the property knows where the main shutoff valve is located and can reach it. Keep a flashlight, towels, a bucket, and basic contact information available. If you manage rentals, include leak-reporting instructions in tenant materials.
Periodically check under sinks, behind toilets, around water heaters, near washing machines, and at refrigerator water lines. Look for rust, moisture, mineral buildup, slow drips, and soft flooring. Replacing a worn supply hose during routine maintenance is usually far less disruptive than responding to a burst hose at midnight.
When water appears where it should not be, act calmly and act quickly. Shut off the supply, protect the area, avoid electrical hazards, and arrange qualified help. Those few practical decisions can protect your home, your investment, and the peace of mind that comes from knowing the problem is being handled properly.