Top Tips for Perfect Exterior House Painting
Giving your home’s exterior a fresh coat of paint can breathe new life into its appearance and boost curb appeal. However, exterior house painting requires careful planning and execution for perfect results.
You’ll learn the essential preparation steps, application techniques, and painting process to achieve a flawless exterior house painting job in this comprehensive guide.
Essential Preparation Tips for Stunning Exterior House Painting
For stunning exterior house painting results, preparation is paramount. Begin by thoroughly cleaning the surfaces, addressing any damage or imperfections, and ensuring a smooth, even canvas. Choose high-quality paint suited to your climate and weather conditions.
Revive & Renew: Transforming Damaged Surfaces into Picture-Perfect Canvases
Imperfections on the surface will be magnified once painted, so it’s essential to repair any damaged areas beforehand. Here are some common issues and how to address them:
- Small holes and cracks: Clean the area and remove any loose debris. Fill small holes and cracks with a spackling compound or patching compound, smoothing it out with a putty knife. Sand the area once dry.
- Peeling paint: Scrape off any loose paint using a paint scraper or putty knife. Sand the area to create a smooth transition, then apply a primer over the exposed surface.
- Water damage: Ensure the affected area is completely dry before painting. Use a stain-blocking primer to prevent discoloration from bleeding through the new paint.
- Dents and dings: For minor dents, use a spackling compound to fill the depressed area and sand it smooth. For deeper dents, use a patching compound, applying it in thin layers and allowing each layer to dry before adding the next.
- Textured surfaces: Sand down any high spots to create a more even surface, then use a high-quality primer to level out the texture.
- Wood surfaces: Sand the wood to create a smooth surface, apply a wood filler to any knots or cracks, and sand it down once dry. Use a primer designed for wood surfaces to seal imperfections.
Unveiling Brilliance: Shedding Old Layers for a Vibrant, Flawless Finish
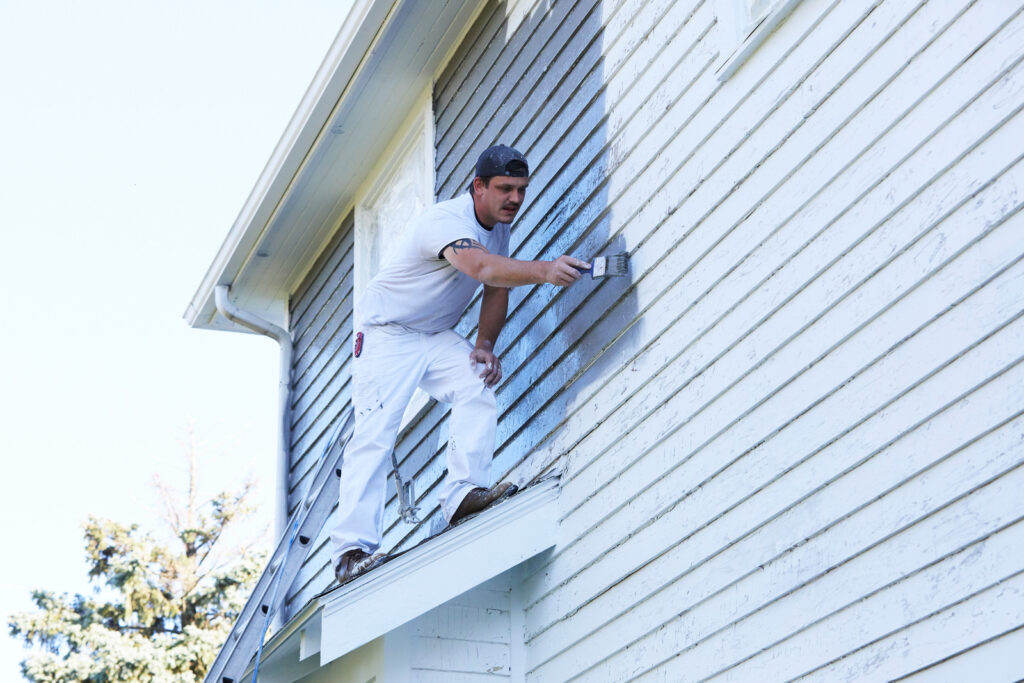
Before applying a fresh coat of paint when doing exterior house painting, it’s essential to remove any loose, peeling, or flaking paint from the surface. Here are some methods to consider:
- Scraping: Use a paint scraper or putty knife to remove loose paint carefully. Wear a mask and eye protection to avoid inhaling dust and debris.
- Sanding: For smaller areas, sanding can effectively remove loose paint. However, be cautious when working with older homes, as the paint may contain lead.
- Chemical strippers: For oil-based paints, chemical strippers can dissolve the old paint, making it easier to remove. Follow the manufacturer’s instructions and safety precautions.
- Power washing: Pressure washing can effectively remove loose latex paint from the surface. However, exercise caution to avoid damaging the siding or driving water behind it.
- Heat guns: Heat guns can soften and loosen old paint, making it easier to scrape off. However, they should be used with caution, as they can release harmful lead fumes if the paint is lead-based.
Remember, proper surface preparation is crucial for achieving a long-lasting and professional-looking paint job. Take the time to address any imperfections or damaged areas before proceeding with the painting process.
Colorful Canvas: Elevating Your Home with the Paintbrush of Possibility
Colorful Canvas” embodies the transformative power of painting, suggesting the creation of vibrant, visually appealing spaces. It evokes imagery of artistic expression and the enhancement of surroundings through the application of color and creativity.
Seal & Shine: Caulking Trim and Sealing Gaps for a Polished Finish
Before applying paint, it’s crucial to caulk and seal any gaps or cracks around trim, siding, windows, and doors. This step ensures a smooth, professional finish and prevents moisture from seeping behind the surfaces, causing future damage. Follow these steps:
- Clean the areas to be caulked by removing any old, cracked caulk, dirt, or debris.
- Use a high-quality exterior caulk suitable for the materials you’re working with (e.g., latex caulk for wood, silicone caulk for metal or vinyl).
- Apply the caulk in a continuous bead, ensuring it fills the gap or cracks.
- Use a caulk tool or your finger to smooth the caulk, creating a neat, even finish.
- Allow the caulk to dry completely according to the manufacturer’s instructions before painting over it.
Stain Solutions: Prime for Perfection, Conquer Wood Knots with Ease
Proper priming is essential for ensuring the longevity and quality of your exterior paint job. Pay special attention to stains and wood knots, as they can bleed through and discolor the topcoat if not properly sealed.
- When coating bare wood, first check its moisture content using a moisture meter. The moisture level should be below 15-20% for exterior surfaces.
- Seal all knots and sap streaks with a shellac-based primer. This type of primer effectively blocks the knots and sap from bleeding through the topcoat.
- Remove any dried or oozing sap buildup, then apply an appropriate primer or sealer to the affected areas.
- For stains or discolored areas, use a stain-blocking primer to prevent the stain from bleeding through the new paint.
Shield & Shine: Safeguarding Doors, Windows, and Lights for Lasting Brilliance
To achieve clean, professional-looking lines and prevent paint from getting on surfaces you don’t want to be painted, proper masking and protection are essential.
- Remove any dust or grime from the areas you’ll be taping off, ensuring the tape adheres properly.
- Use high-quality painter’s tape, applying it in short (approximately 1-foot) stretches to prevent overstretching and lifting.
- Place the tape right up against the surface you’ll be painting, ensuring a straight line. For added protection, angle the tape slightly away from the wall to create a small gutter to catch any spatters.
- Use a utility knife to score the tape’s edge, ensuring a clean break between the paint and the tape when you remove it.
- For glass surfaces, consider using liquid masking fluid, which dries to a rubbery consistency and can be peeled off after painting, removing any stray paint specks.
- Protect light fixtures, electrical outlets, and other hardware by covering them with plastic sheets or masking tape.
By following these steps, you’ll ensure a smooth, professional-looking paint job while protecting the areas you don’t want painting.
Brush, Roll, or Spray: Mastering Application Techniques for a Perfect Finish
Application Techniques” encompass various methods such as brushing, rolling, or spraying paint onto surfaces. Each technique requires skill and precision to achieve desired results. Proper application ensures even coverage, smooth finishes, and professional-looking outcomes, contributing to the overall success and quality of a painting project.
Coat by Coat: Mastering Exterior Paint Application for Lasting Beauty and Protection
When it comes to applying the exterior paint coat(s), the key is to strike the right balance. While you certainly don’t want too thin of a coating, applying too many coats will only cost you more time and money without improving the appearance of your home or providing any additional protection.
In most cases, one finish coat of high-quality exterior paint is all you need to protect your home from harsh weather conditions. One coat lasts the same amount of time as two coats, and it doesn’t negatively impact the look of your home. Adding too much paint can cause ridges and lumpiness on the finish.
However, there are a few exceptions where applying two finish coats may be necessary:
- In new construction
- When there is extensive damage to the siding
- When a color change won’t hide the old color in one finish coat (e.g., a light color over a dark one)
- When using low-quality, low-performance paint products
Hiring a professional painter who understands this principle will save you from unnecessary labor and material costs while ensuring quicker project completion.
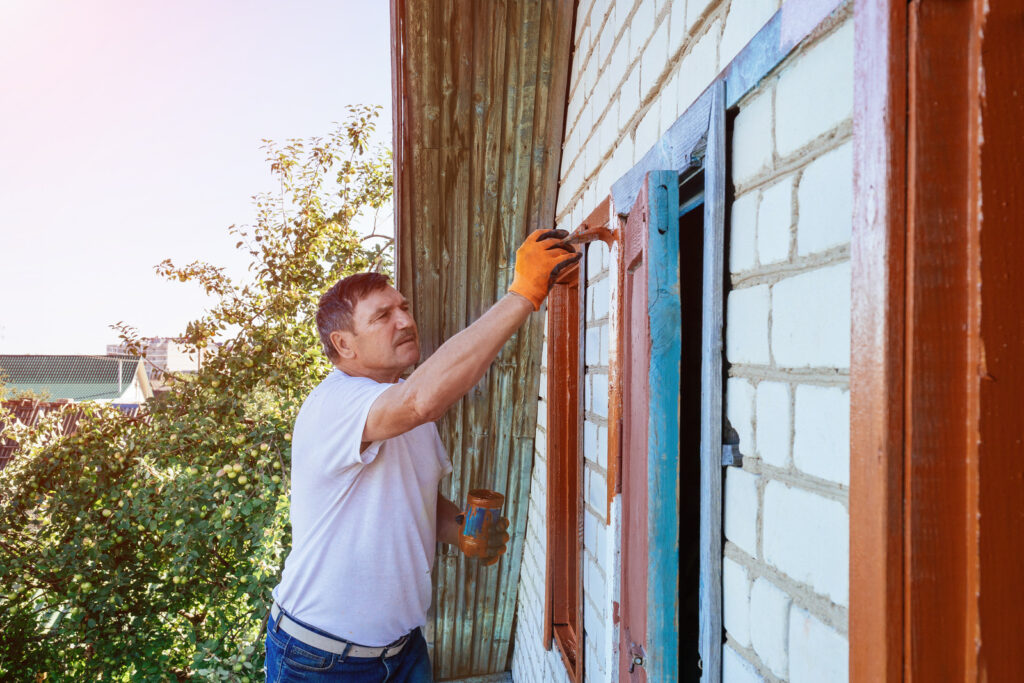
Elevating Home Elegance with Expert Door and Trim Painting
When painting trim and doors, attention to detail is crucial for a flawless finish. Here are some tips:
- Preparation: Wipe down the surfaces to remove any dirt or grime, ensuring proper paint adhesion.
- Tools: Use high-quality tools like Purdy Jumbo Rollers for larger areas and Purdy Nylox brushes for detailed areas and nooks.
- Technique:
- For doors, start at the corner and use a smooth motion to brush or roll the project area.
- Paint the recessed areas of paneled doors first, working from top to bottom and cutting around the edges.
- Smooth out panels by feathering the edges to eliminate hard lines.
- Paint the stiles (vertical sections) in the following order: middle, top, center, bottom, left, right.
- Trim:
- Start at the top of the door frame and work outward from the edge of the door.
- Paint the side edges of the trim where it meets the wall.
- Finally, paint the face of the trim, maintaining a wet edge.
- Drying Time: Allow enough time for the paint to dry fully before putting doors and windows back into use.
By following these application techniques, you can achieve a smooth, even finish on your trim and doors, enhancing the overall appearance of your exterior house painting project.
Conclusion: Reflecting on the Journey to a Transformed Space
A fresh coat of exterior house painting can transform the look and feel of your home, enhancing its curb appeal and protecting it from the elements. By following the comprehensive tips outlined in this guide, you can ensure a perfect exterior house painting job that will leave your home looking its best for years to come. From proper preparation to skilled application techniques, attention to detail is key to achieving professional-quality results.
With thorough surface preparation, careful masking, and the right tools and techniques, you can tackle an exterior house painting project with confidence. Whether you choose to tackle the task yourself or hire a professional painter, the principles of quality workmanship and attention to detail remain the same. By investing in quality materials and following best practices, you’ll create a beautiful, long-lasting finish that will make your home the envy of the neighborhood.

